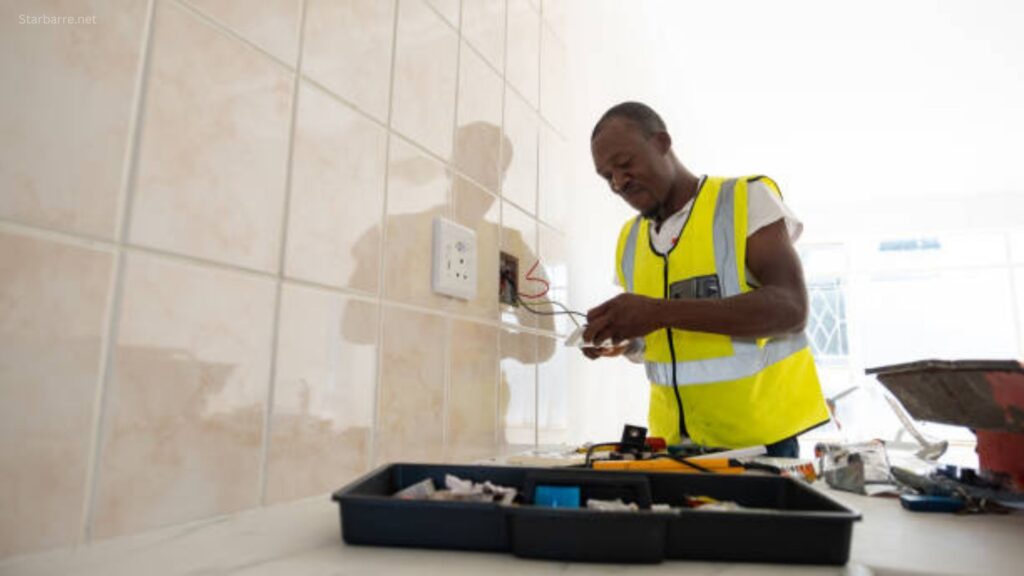
Wiring a light switch might seem like a complex task at first glance, but with the right approach, it’s something you can accomplish on your own. Whether you’re replacing an old switch, installing a new one, or just interested in learning more about how electricity works in your home, wiring a light switch is an important skill. In this comprehensive guide, we’ll walk you through each step of the process in simple terms, ensuring that you can wire a light switch safely and effectively. By the end of this article, you’ll not only know how to wire a light switch but also understand how different types of switches work, troubleshooting tips, and the tools you’ll need to do the job right.
What You Need to Get Started
Before diving into wiring, you should gather the right materials and tools. Here’s a list of everything you’ll need for this project:
Basic Tools and Materials:
- Screwdrivers (Flathead and Phillips): Essential for removing screws from the switch and cover plate.
- Wire Cutters/Strippers: Used to cut and strip wires to the appropriate length.
- Wire Connectors (Wire Nuts): These are used to connect wires together safely.
- Electrical Tape: For securing wires and making sure they are insulated properly.
- Voltage Tester: A must-have tool to check if the electrical circuit is live. Always use it to confirm that the power is off before starting work.
- New Light Switch: Make sure the switch is the correct type for your application (e.g., single-pole, three-way, or dimmer switch).
- Electrical Box: If you are installing a new switch, you may need to mount it inside a new electrical box.
Safety Precautions
Working with electricity can be dangerous if you don’t take the proper precautions. Before beginning, make sure to:
- Turn off the power at the circuit breaker.
- Verify the power is off using a voltage tester.
- If you are unsure or uncomfortable with the work, don’t hesitate to consult an electrician.
By following these simple safety steps, you ensure that you’re working in a safe environment.
Step-by-Step Instructions for Wiring a Light Switch
Now, let’s get into the nitty-gritty of how to wire a light switch. We’ll break it down into detailed steps, and each one will be easy to follow.
Step 1: Turn Off the Power
The first step is crucial: turn off the power at the circuit breaker. This is the safest way to ensure you don’t get shocked while working on the switch. If you don’t know which breaker controls the light switch, turn off the main power to the entire house.
Once you’ve flipped the breaker off, use a voltage tester to check that the switch is no longer live. Simply place the tester on the wires connected to the switch to confirm there’s no electricity running through them.
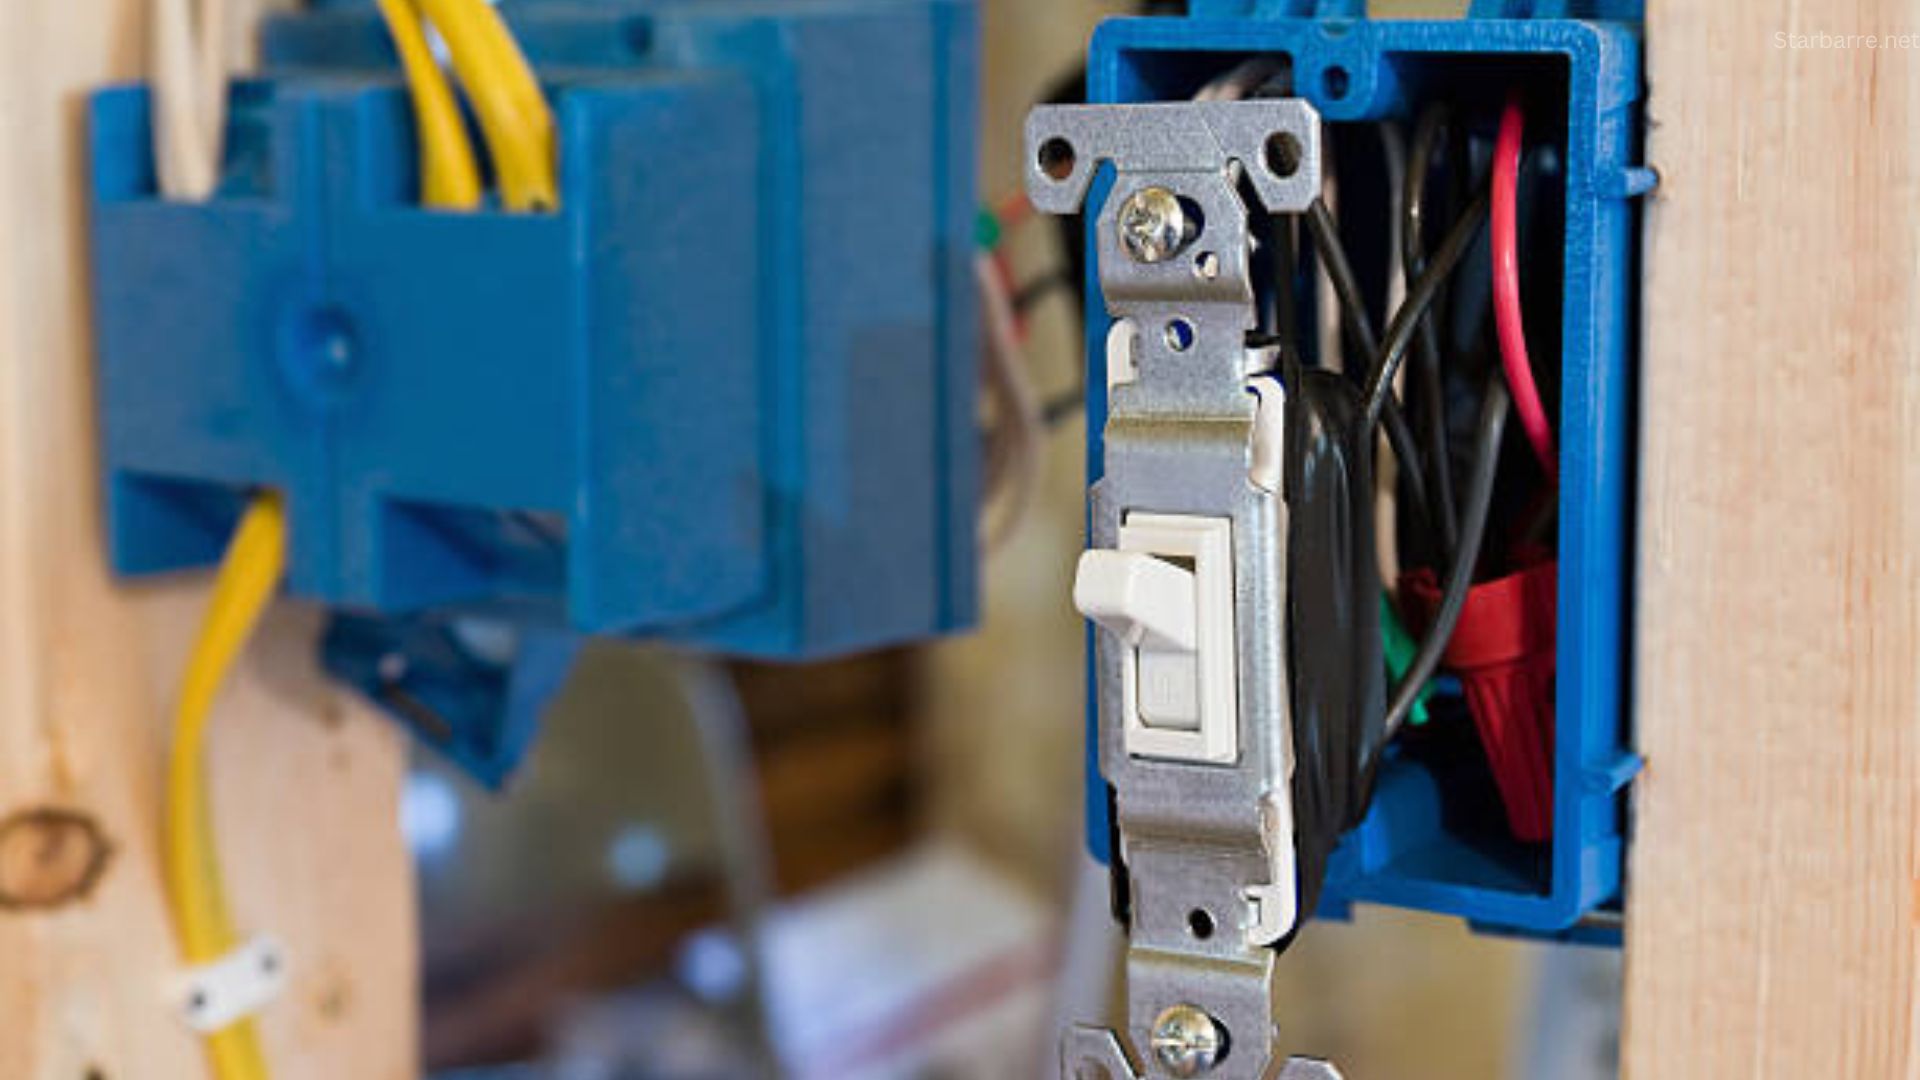
Step 2: Remove the Old Switch (if applicable)
If you are replacing an old switch, the next step is to remove it. Start by unscrewing the cover plate with a flathead screwdriver. After that, you’ll need to unscrew the mounting screws holding the switch to the electrical box. Gently pull the switch out, exposing the wires behind it.
Make sure to take note of how the wires are connected to the old switch. In most cases, the black (hot) wire will be connected to the brass screw, the white (neutral) wire will not be connected to the switch, and the green or bare copper (ground) wire will be connected to the green screw.
Step 3: Disconnect the Wires
Once the switch is removed, it’s time to disconnect the wires. Carefully loosen the screws holding the wires in place. You should see three main types of wires:
- Black (hot) wire: This carries the electrical current to the switch.
- White (neutral) wire: This completes the electrical circuit back to the panel.
- Ground wire: This is typically bare copper or green, and its job is to prevent electrical shock by directing stray electricity safely into the ground.
Note how the wires are connected to the old switch, as this will help when attaching the new switch.
Step 4: Prepare the New Switch
Before installing the new switch, make sure that it’s the correct type. The most common types of light switches are:
- Single-pole switches: Used to control a light from one location.
- Three-way switches: Used when you want to control a light from two different locations.
- Dimmer switches: Used to adjust the brightness of a light.
If you’re replacing a single-pole switch with another, the process will be similar. Just make sure that the new switch fits in the electrical box and is compatible with your wiring.
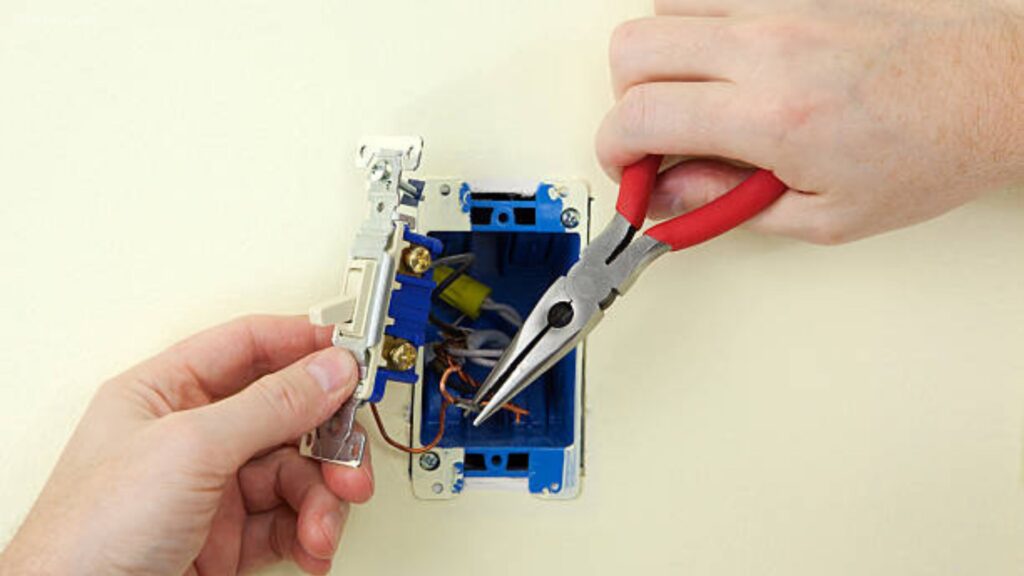
Step 5: Attach the Wires to the New Switch
Now, it’s time to attach the wires to the new switch. Depending on the type of switch, this step may vary slightly, but generally, the process is the same.
Black (Hot) Wire:
- The black wire should be attached to the brass or gold screw on the new switch. To do this, strip about half an inch of insulation from the end of the wire and wrap it clockwise around the screw. Tighten the screw to secure the wire in place.
White (Neutral) Wire:
- Most light switches don’t require a connection to the white (neutral) wire, but if your switch does, attach it to the silver screw.
Ground Wire:
- The ground wire should be connected to the green screw on the switch. This wire is essential for safety, as it prevents electrical shock.
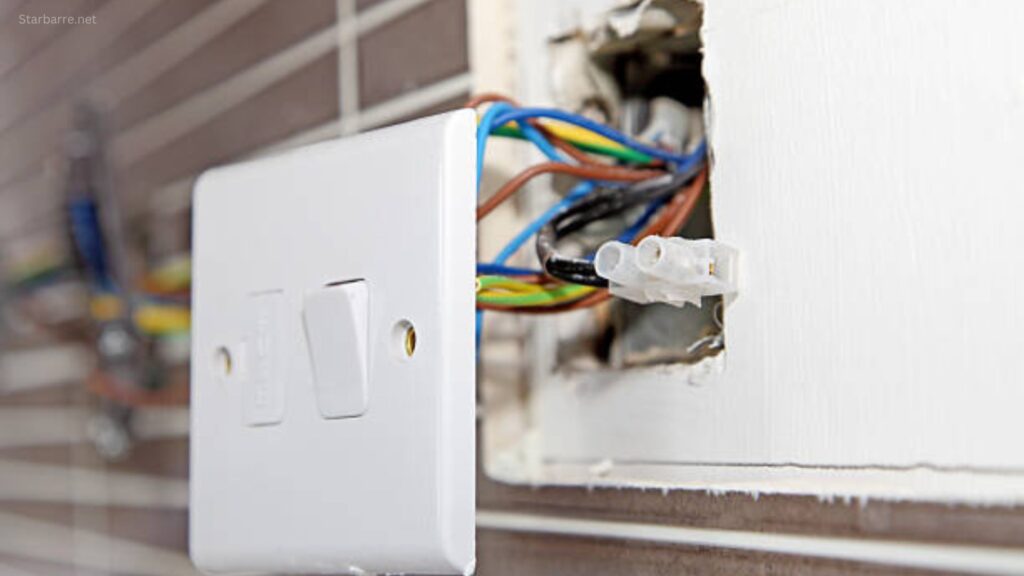
Step 6: Secure the Switch in the Electrical Box
After connecting the wires, carefully push the switch back into the electrical box. Secure the switch with the mounting screws. Make sure the switch is level and fits properly in the box.
Step 7: Attach the Cover Plate
Once the switch is securely mounted, it’s time to add the cover plate. Simply slide the cover plate over the switch and secure it with the screws provided.
Step 8: Turn the Power Back On
Now that the switch is installed and the cover plate is in place, it’s time to restore power. Go back to your circuit breaker panel and flip the breaker back on. Head to the switch and test it to make sure it works properly. If everything is wired correctly, the light should turn on or off as expected.
Understanding Different Types of Light Switches
Knowing the different types of light switches will help you understand the wiring process better. Here are the most common types:
Single-Pole Switch
The single-pole switch is the most basic type of switch. It controls a light or a group of lights from one location. It has two terminals: one for the hot (black) wire and one for the ground wire.
Three-Way Switch
A three-way switch allows you to control a light from two different locations. It’s commonly used for hallways or large rooms with multiple entrances. You’ll need two three-way switches to complete the circuit.
Dimmer Switch
A dimmer switch allows you to adjust the brightness of your light. Wiring a dimmer switch is very similar to a single-pole switch but may require specific types of wiring depending on the model.
Smart Switch
A smart switch allows you to control your lights remotely using your phone or voice assistant. These switches require a Wi-Fi connection and are wired just like a standard switch, but they may have additional setup steps.
Troubleshooting Common Issues
If your light switch isn’t functioning correctly, there are a few things you can check before calling an electrician:
1. No Power to the Switch
Make sure the circuit breaker is on, and the wires are connected properly. Use a voltage tester to verify that power is reaching the switch.
2. Switch Doesn’t Work
If the switch doesn’t turn the light on or off, check the connections to ensure they are tight and secure. Also, make sure the switch is installed correctly.
3. Flickering Lights
If the lights flicker when you use the switch, this could be a sign of a loose wire or faulty switch. Tighten the wire connections or replace the switch if necessary.
Five Frequently Asked Questions (FAQs)
1. Can I wire a light switch myself?
Yes, you can wire a light switch yourself if you follow the proper safety procedures. Just make sure you turn off the power and verify with a voltage tester.
2. What if I have trouble with the wiring colors?
If you’re unsure about the wiring colors, you can refer to the switch’s instructions. In general, black (hot) goes to the brass screw, white (neutral) goes to the silver screw, and ground goes to the green screw.
3. How do I know which type of switch I need?
If you need to control the light from one location, a single-pole switch will work. If you need to control the light from two locations, a three-way switch is required.
4. Can I install a dimmer switch in place of a regular switch?
Yes, you can replace a regular switch with a dimmer switch, but make sure the dimmer switch is compatible with the type of light bulbs you’re using.
5. What if the light switch doesn’t work after installation?
Double-check the connections and make sure the wires are securely attached to the correct terminals. If the problem persists, you may need to replace the switch or consult a professional.
Conclusion
Wiring a light switch is a skill that anyone can learn with the right tools, safety measures, and instructions. By following the steps in this guide, you can confidently wire or replace a light switch in your home. Whether you’re dealing with a single-pole switch or a more complex three-way switch, the principles of wiring are similar.
If at any point you feel unsure, it’s always better to call a professional. Electrical work is important for the safety of your home, so never hesitate to ask for help when needed. With practice, you’ll become more comfortable and capable of handling light switch wiring projects yourself.
For More Info! Stay Tuned With StarBarre.