Introduction
Reading a tape measure is one of the fundamental skills needed in many fields, from construction and carpentry to tailoring and home improvement. Whether you’re building a piece of furniture, laying down tiles, or cutting fabric for a sewing project, knowing how to read a tape measure accurately is essential for achieving precision. But many people, especially beginners, can find this task a little intimidating. This article will walk you through everything you need to know about how to read a tape measure correctly. We’ll break down the different parts of a tape measure, explain how to interpret the markings, and provide you with some helpful tips for accurate measurement.
What is a Tape Measure?
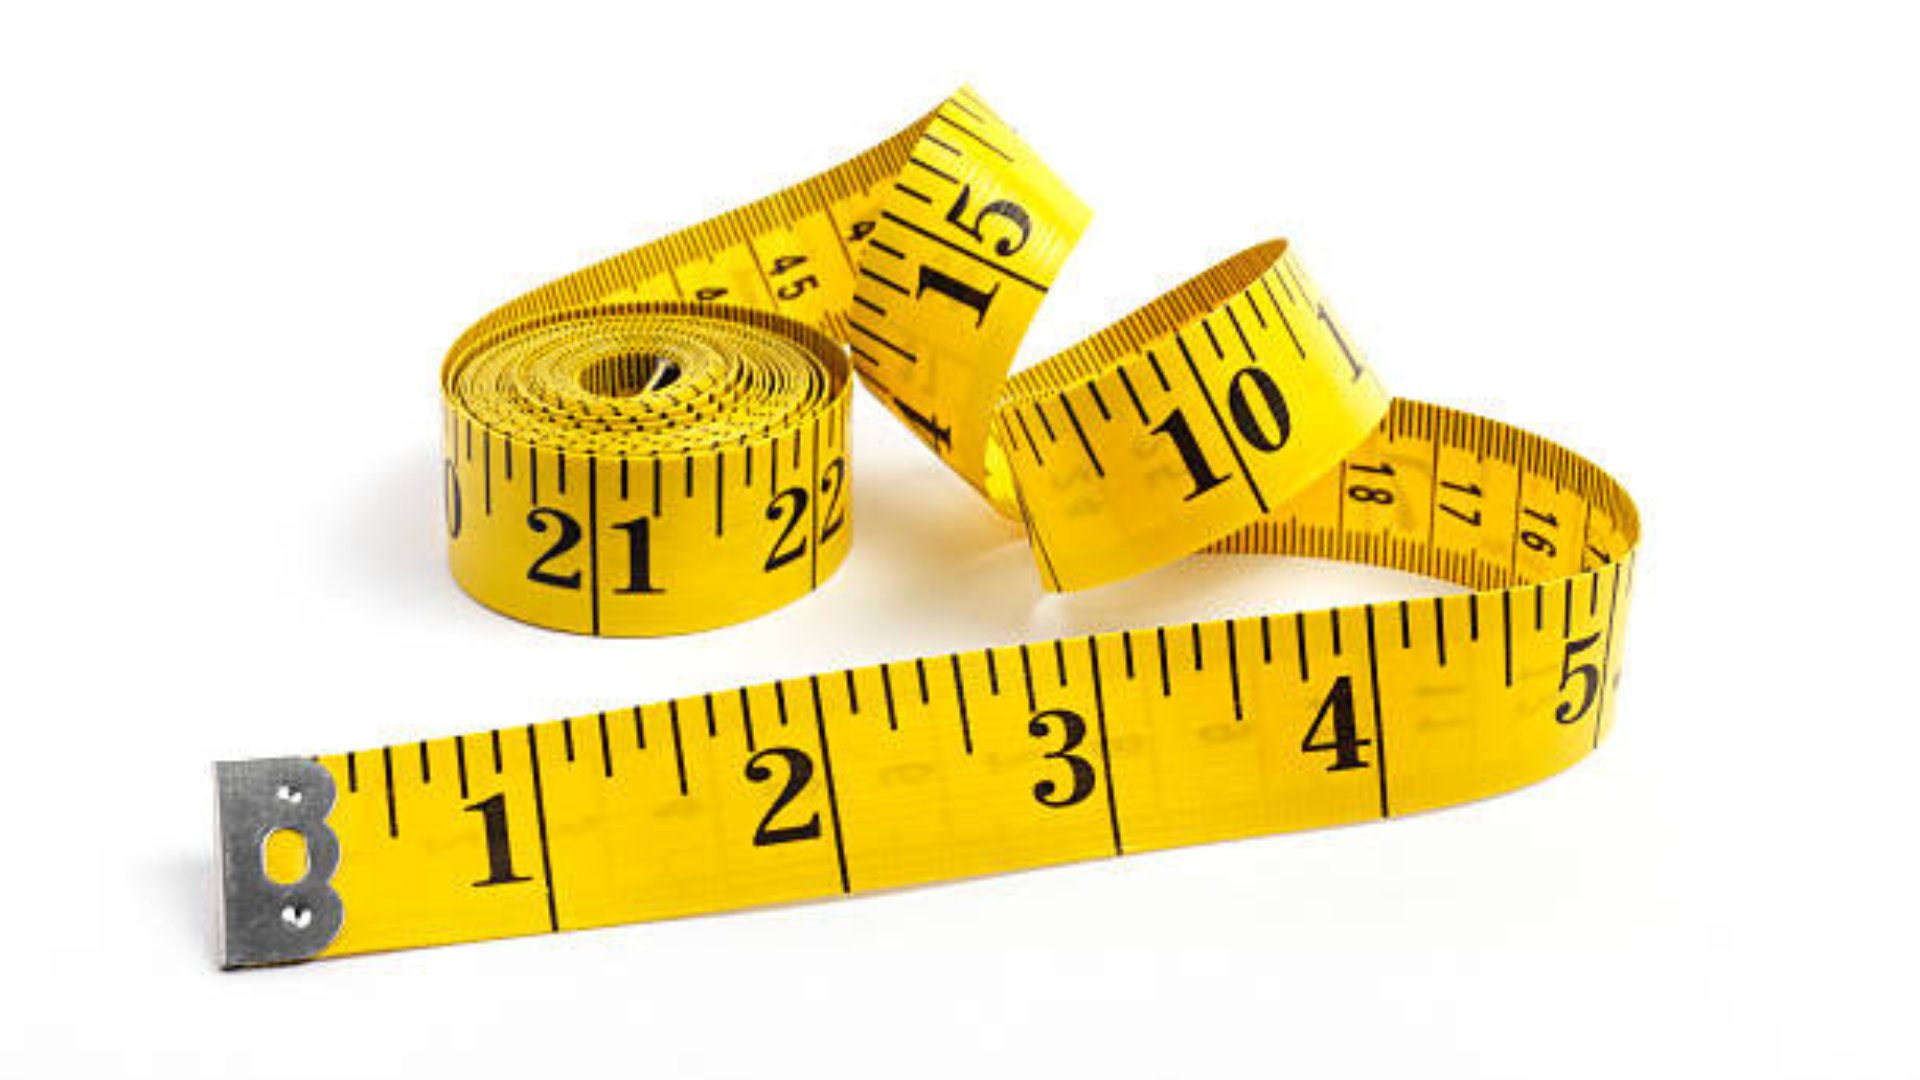
A tape measure is a tool used to measure the length or size of an object. It’s made up of a flexible strip of material, typically either metal or fiberglass, which rolls back into a casing for easy storage. The markings on the tape indicate measurements, which can range from inches and feet to millimeters and centimeters, depending on the type of tape.
Components of a Tape Measure
Before we dive into the details of how to read the tape measure, let’s explore its components:
- Tape Strip: The main portion of the tool, which can extend up to 25 feet or more. The tape is marked with measurements and often comes with a coating to protect it from wear and tear.
- Case: The casing houses the tape and typically includes a lock button to keep the tape in place.
- End Hook: The metal piece at the end of the tape that helps to hook the tape onto the edge of the object you’re measuring.
- Lock Mechanism: This feature locks the tape in place so it doesn’t retract while you’re measuring.
- Measurement Markings: These are the printed numbers and lines on the tape that indicate various measurements in inches or centimeters.
Understanding the Units of Measurement
The most common units of measurement on a tape measure are inches and feet in the imperial system. However, in some countries, the metric system is used, and the tape measure will display measurements in centimeters and millimeters. Here’s how both systems work:
Imperial System: Inches and Feet
- Inches: The primary unit of measurement. One foot equals 12 inches.
- Feet: Marked with larger numbers on the tape. They represent every 12-inch interval on the tape measure.
Metric System: Centimeters and Millimeters
- Centimeters (cm): Each centimeter is divided into 10 smaller units called millimeters.
- Millimeters (mm): These are the smallest marks on the tape measure in the metric system.
Many modern tape measures include both measurement systems, which allows you to use the tape for projects no matter which system you prefer.
How to Read the Tape Measure: Step-by-Step
Step 1: Recognize the Large Numbers (Inches and Feet)
The largest numbers you’ll see on a tape measure represent inches and feet. These numbers are printed in bold and are usually in 1-inch increments. For example, you might see 1″, 2″, 3″, and so on. These numbers are easy to find and help you know how many whole inches you’ve measured.
Step 2: Understand the Smaller Divisions Between the Inches
Between each whole inch, you will find smaller marks indicating fractions of an inch. These fractions allow you to measure with more precision.
Here’s the breakdown of common fractions:
- 1/16 Inch: These are the smallest tick marks, typically found between the larger numbers. A 1/16 inch mark is very tiny and is usually used in highly detailed projects.
- 1/8 Inch: This is the second smallest fraction and is marked with slightly longer lines than the 1/16 inch marks.
- 1/4 Inch: Marked with even longer lines, each 1/4 inch mark represents a quarter of an inch.
- 1/2 Inch: These are usually the longest marks between the whole inches and are easy to spot.
For example, if the tape measure reads 3 1/4″, this means you have three whole inches and an additional one-quarter inch.
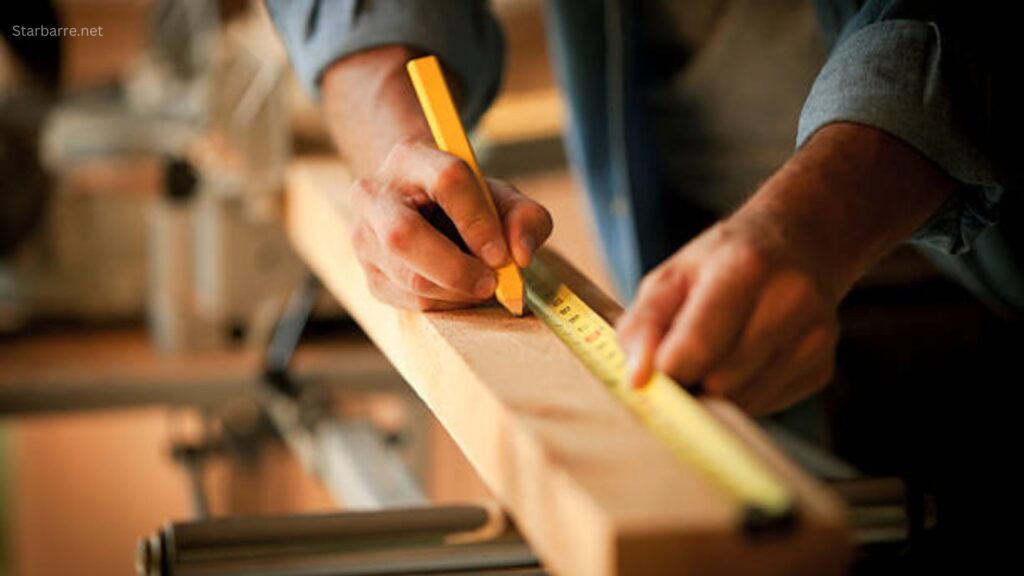
Step 3: Practice Measuring with the Tape
Once you know how to interpret the major numbers and the fractions, the next step is practice. Start by measuring simple objects to get used to reading both whole numbers and fractional parts.
Example Exercise:
- Take a piece of wood or metal and use your tape measure to determine its length.
- Check the whole inch number first, then look at the smaller tick marks to read the fractional measurement.
- Record your measurement. Is it 5 3/8″? Or maybe 7 1/16″?
Step 4: Learn the Metric System (Optional)
If you’re working with a tape measure that includes the metric system, you can follow a similar process, but this time you’ll be reading centimeters (cm) and millimeters (mm).
- Centimeter Marks: Larger, usually every 1 cm.
- Millimeter Marks: Smaller, with 10 marks per centimeter.
For example, a measurement of 10.5 cm means 10 centimeters and 5 millimeters.

Common Mistakes to Avoid When Reading a Tape Measure
Reading a tape measure can be tricky, especially for beginners. Here are some of the most common mistakes to watch out for:
1. Misreading Fractions
- It’s easy to confuse 1/8” with 1/4” or 1/16”. Pay close attention to the length of each tick mark and practice to improve your accuracy.
2. Overlooking the End Hook
- The metal hook at the end of the tape can move slightly. Always make sure it’s snug against the edge of the object you’re measuring to avoid an inaccurate reading.
3. Not Using the Lock Feature
- The lock feature is there for a reason. If you don’t use it, the tape may retract back, making your measurement difficult to read and causing errors.
4. Skipping Double-Checking
- It’s always a good idea to measure twice. By doing so, you ensure that your measurements are accurate and save yourself from having to redo work.
Tips for Accurate Tape Measure Usage
1. Ensure the Tape is Fully Extended
- To get an accurate measurement, make sure the tape is fully extended. If it’s retracted even slightly, it can affect your reading.
2. Use the Tape on a Flat Surface
- Measure on a flat, stable surface to prevent the tape from bending or distorting. This ensures accuracy.
3. Use a Carpenter’s Square
- If you’re working on a carpentry project, a carpenter’s square can help you measure more accurately by keeping your tape measure at a 90-degree angle.
4. Mark Your Measurements
- After measuring, mark the spot with a pencil, chalk, or a pen. This will make it easier to cut or adjust your project based on the exact measurement.
Frequently Asked Questions
1. How do I read the smaller marks on a tape measure?
- The smaller tick marks represent fractions of an inch. These are divided into 1/16″, 1/8″, 1/4″, and 1/2″ increments. For example, if the tape shows a mark halfway between 1/4″ and 1/2″, it is 3/8″.
2. What’s the difference between 1/4 inch and 1/2 inch?
- A 1/4 inch is one-quarter of an inch, while 1/2 inch is one-half. The 1/2 inch mark is longer and represents a larger unit of measurement.
3. Can I use a tape measure in both metric and imperial systems?
- Yes! Many tape measures have both the imperial (inches and feet) and metric (centimeters and millimeters) systems. This allows you to work with whichever system you are more comfortable with.
4. Why does my tape measure have numbers and symbols?
- The numbers represent the measurement, and the symbols may indicate specific fractions (like 1/2″ or 1/8″) or the foot marks (12 inches).
5. How do I measure long objects with a small tape measure?
- Use the “folding method”. Measure in segments, marking each section with the tape measure, and then add the total length together.
Conclusion
Reading a tape measure may seem intimidating at first, but with practice, it becomes second nature. By understanding the different units of measurement, recognizing the fractions, and knowing how to use the lock feature, you can confidently measure anything. Whether you’re working on a home improvement project, assembling furniture, or just measuring for a craft, this simple tool can help you achieve the perfect measurements every time. Just remember: practice makes perfect! Happy measuring!

For More Info! Stay Tuned With StarBarre.