Introduction
Cat Easy Drawing:
Drawing is a wonderful hobby that can bring immense joy and satisfaction, especially when you learn how to create something fun and simple. If you’re someone who enjoys drawing but feels intimidated by more complex subjects, don’t worry—drawing a cat can be much easier than it seems. Cats are known for their cute and playful appearance, making them a perfect subject for both beginners and experienced artists. In this article, we will guide you step-by-step on how to draw a cat that looks great without much effort. Whether you want to create a playful kitten or a majestic cat, these tips and techniques will help you along the way. We’ll break everything down into easy-to-follow steps so that anyone can do it, regardless of their artistic experience.
So, grab your drawing tools and let’s get started on your easy cat drawing journey!
Step-by-Step Guide to Drawing a Simple Cat
1. Start with Basic Shapes
Drawing a cat doesn’t need to be complicated, and the best way to begin is by starting with basic shapes. This allows you to focus on the structure of the cat without getting caught up in the finer details too early.
Draw a Circle for the Head
Begin by drawing a large circle in the center of your page. This circle will represent the cat’s head. You don’t need to be perfect with the circle—just focus on getting the right size that works for you. A bigger circle will make your cat look more playful, while a smaller circle can give it a more sleek or serious appearance.
Add a Bigger Oval for the Body
Next, draw a larger oval shape underneath the circle. This oval represents the body of your cat. The oval should be wider at the bottom and narrower at the top. This will help give the cat a natural, relaxed posture. You can adjust the size of the oval based on whether you want your cat to be long and skinny or round and fluffy.
Connect the Head and Body
To connect the head and body, simply draw two short curved lines from the sides of the circle (head) down to the oval (body). These lines don’t have to be straight; they should be gentle curves, helping to define the neck of the cat.
2. Add the Ears
The ears are an important feature of a cat and help give it personality. Depending on the breed of cat, the ears can be small and pointy or larger and round. For a simple drawing, we’ll stick to basic triangular ears.
Draw Two Triangles on Top of the Head
At the top of the circle (the cat’s head), draw two triangles for the ears. The triangles should be positioned slightly to the left and right of the center of the head. You can make the triangles a little bit curved at the top to soften the appearance, as real cat ears aren’t perfectly sharp. Leave some space between the ears to make the cat look more natural.
3. Sketch the Eyes, Nose, and Mouth
Once the basic shapes are in place, it’s time to start adding the facial features. Cats are known for their big, expressive eyes, which can convey different moods and personalities. The nose and mouth will help complete the face and give it that cute, friendly look.
Draw Two Big Eyes
Inside the circle (head), draw two large ovals for the eyes. The eyes should be positioned near the top of the circle but leave some space between the eyes and the top of the head. Cats often have wide, circular eyes, so make sure the ovals are large compared to the rest of the head. You can add a small circle or oval inside the eyes to represent the pupils.
Draw the Nose
Just below the center of the eyes, draw a small upside-down triangle for the nose. Make sure the sides of the triangle are soft and curved, as cat noses are not sharp. The tip of the nose should be positioned a little lower than the line connecting the eyes, giving the face balance.
Add a Smile
To complete the cat’s face, draw two curved lines extending downward from the bottom of the nose. These lines should curve outward, forming a friendly and happy smile. You can make the smile as big or as small as you like depending on how playful or serious you want your cat to look.
Draw the Whiskers
Whiskers are an essential feature of a cat’s face, helping them navigate their surroundings. Adding whiskers will give your drawing more personality.
Add Three Lines on Each Side
From each side of the nose, draw three straight lines. These lines should start from just outside the tip of the nose and extend outward. They should be long enough to stand out but not so long that they overpower the rest of the face. You can slightly curve the whiskers if you want to give the cat a more dynamic look.
5. Draw the Legs and Tail
Now that the head is almost complete, let’s move on to the body details. Adding the legs and tail will give the cat structure and a sense of movement. Cats have strong, flexible bodies, so their legs and tail are crucial for conveying their playful or graceful nature.
Draw the Front Legs
Draw two long, straight lines extending downward from the body on each side to represent the front legs. You can add small ovals at the bottom of each line for the paws. The legs should be slightly angled outward to make the cat appear natural.
Add the Back Legs
For the back legs, draw two curved lines extending backward from the bottom of the body. These lines should curve slightly, mimicking the shape of a cat’s hind legs. At the end of each line, add small ovals for the paws.
Draw the Tail
The tail is one of the most expressive parts of the cat. For a simple cat drawing, draw a long, curved line extending from the back of the body. The tail should be flexible, curving upward or sideways. You can add more curves and lines to give the tail more movement and flow.
6. Add the Final Touches
Once the basic shapes and features are in place, it’s time to give the cat some finishing touches. These details will help bring the drawing to life and make it more realistic.
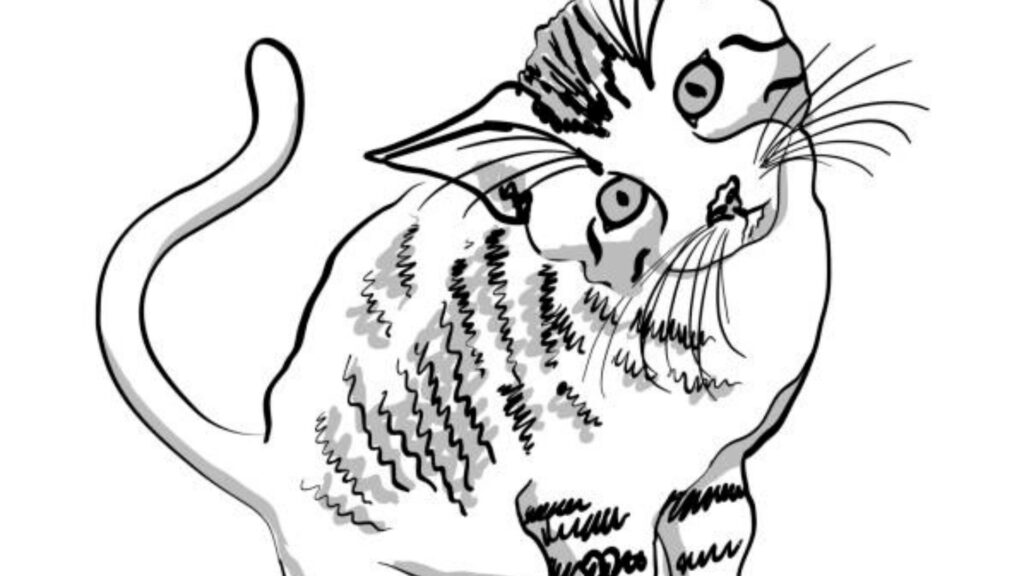
Fur Texture and Details
Add texture to the fur by drawing small, curved lines around the body, head, and tail. The lines should be short and light, giving the impression of soft fur. You can also add a few longer lines around the ears to create a fluffy appearance.
Finalize the Outline
After you’ve added the fur details, use a darker pencil or pen to go over the main outlines of the cat. Erase any extra lines or guides you used earlier. The final outline should emphasize the cat’s shape, giving it a clean, finished look.
Tips for Making Your Cat Drawing Even Easier
Practice with Different Cat Poses
Drawing cats in different poses can help you improve your skills and add variety to your work. Practice drawing your cat in different positions, such as sitting, standing, or stretching. Each pose offers a new challenge and allows you to explore the flexibility of a cat’s body.
Use Simple Shapes for Complex Features
If you find yourself struggling with more complex features like the tail or paws, break them down into simple shapes. For example, you can start the tail with a long oval shape and then refine it as you go. By focusing on basic shapes, you can draw more complicated features with ease.
Experiment with Different Cat Breeds
Cats come in many shapes and sizes. While this guide focuses on a simple and generic cat drawing, you can experiment with different breeds. For example, a fluffy Persian cat may have rounder ears and a bigger face, while a sleek Siamese cat will have a longer body and pointed ears.
Frequently Asked Questions
1. What is the easiest way to draw a cat?
The easiest way is to start with basic shapes like a circle for the head and an oval for the body. From there, add simple lines for the ears, eyes, nose, and tail. Keep it simple, and focus on one part at a time.
2. How do I make my cat look more realistic?
To make your cat look more realistic, pay attention to the details like fur texture, eye placement, and the shape of the paws. Adding small touches like whiskers and varying the size of the eyes can make a big difference.
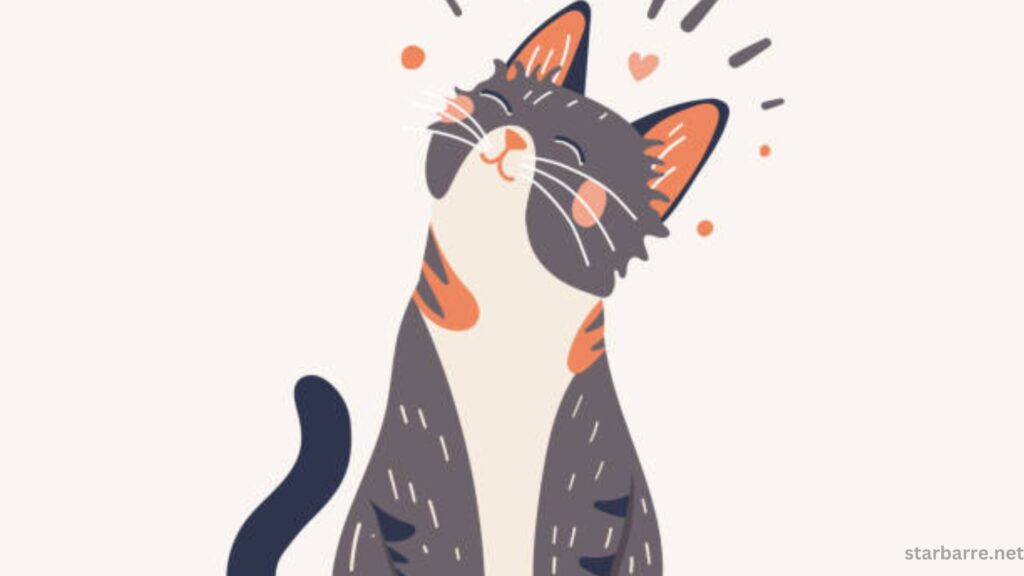
3. Can I use colors to make my cat drawing stand out?
Definitely! Adding colors to your cat drawing will make it more vibrant and visually interesting. You can use colored pencils, markers, or even digital tools to fill in your drawing with the cat’s fur color and other details.
4. How can I draw a cat from different angles?
To draw a cat from different angles, study photos or reference images of cats in various positions. Begin with the basic shapes and adjust the features, like the ears, eyes, and paws, to match the angle you’re drawing from.
Conclusion
Drawing a cat is a fun and rewarding activity that anyone can enjoy, no matter their skill level. By breaking the drawing process into simple steps and focusing on basic shapes, you can create a cute and playful cat drawing that looks great. Whether you’re a beginner or a more experienced artist, this guide can help you improve your skills and bring your artistic ideas to life. So, take your time, experiment with different poses, and most importantly, have fun while drawing your cat!