
How to Freeze Dry Candy:
Candy is one of the most delightful treats we enjoy in various forms. From chocolate bars to gummies, it’s hard to resist their sweet taste. But have you ever wondered what it would be like to freeze-dry candy? Freeze-drying, also known as lyophilization, is a process that removes moisture from food, making it lighter and shelf-stable while preserving its flavor and texture.
In this article, we’ll explore the fascinating world of freeze-drying candy, how it works, and why it’s becoming a popular trend. By the end of this guide, you’ll understand the steps to freeze-dry candy at home and the various benefits it offers. We’ll also discuss the science behind the process, common mistakes to avoid, the best candy types for freeze-drying, and how to store freeze-dried candy to ensure its longevity.
What is Freeze-Drying?
Freeze-drying is a food preservation process that removes moisture by freezing the food first and then using a vacuum to remove the ice, turning it directly into vapor without going through the liquid phase. This technique leaves the food (in this case, candy) light, crunchy, and shelf-stable, making it ideal for long-term storage.
The key to freeze-drying’s success lies in its ability to preserve the original taste, nutritional content, and structure of the food, all while eliminating the moisture that can cause it to spoil.
The Science Behind Freeze-Drying
Freeze-drying involves three main stages:
- Freezing: The candy is frozen to very low temperatures, usually below -40°F, which preserves its cellular structure.
- Sublimation: After freezing, the candy is placed in a vacuum chamber where the pressure is lowered. This allows the frozen water in the candy to sublimate, meaning it turns directly from a solid to a gas, skipping the liquid phase.
- Desorption: The remaining moisture is removed through desorption, ensuring that no water is left in the candy.
This process retains the original flavor, texture, and appearance of the candy, unlike other methods such as dehydration or canning, which can cause texture and flavor loss.
Why Freeze-Dry Candy?
Freeze-drying candy offers several benefits, making it an attractive option for those looking to preserve sweets for a longer period or just enjoy them in a new form:
1. Long Shelf Life
One of the biggest advantages of freeze-drying candy is its extended shelf life. By removing the moisture, freeze-dried candy becomes resistant to mold, bacteria, and spoilage. While regular candy typically lasts for a few months, freeze-dried candy can last for years when stored properly, making it a great option for emergency food supplies, long-term storage, or even novelty candy.

2. Lightweight and Convenient
Since most of the water content is removed, freeze-dried candy is significantly lighter than its non-dried counterpart. This makes it an excellent option for camping trips, hiking, or travel. You can pack large quantities of candy in a lightweight form, and it won’t take up much space.
3. Intensified Flavors
The freeze-drying process concentrates the flavors of the candy, making them taste more intense and vibrant. The absence of moisture brings out the natural sweetness of the candy and can make it taste more satisfying with each bite.
4. Unique Crunchy Texture
Freeze-dried candy has a fun, crunchy texture that makes it stand out. For example, freeze-dried marshmallows become light and crispy, while freeze-dried gummies have a more candy-like crunch. The texture change adds a new dimension to the candy-eating experience.
Step-by-Step Guide: How to Freeze-Dry Candy at Home
You don’t need to be a food scientist to freeze-dry candy at home. With the right equipment and a little patience, you can easily turn your favorite candies into freeze-dried treats. Here’s how:
Step 1: Gather Your Supplies
Before you begin, you’ll need a few essential items:
- Freeze Dryer Machine: This is the heart of the freeze-drying process. Machines like Harvest Right or Labconco are popular for home use. They freeze the candy and create a vacuum to remove moisture.
- Candy: You can freeze-dry a wide range of candies, including chocolate, gummies, marshmallows, and hard candy.
- Trays: These are used to hold your candy in the freeze dryer. You can find trays that fit most freeze dryers, and stainless steel is a good choice for durability.
- Vacuum Sealer (optional): While not essential for freeze-drying, a vacuum sealer can help store your candy properly and further extend its shelf life.
Step 2: Prepare the Candy
There’s very little preparation needed when freeze-drying candy. Here’s what you should do:
- Hard Candy: Break larger pieces into smaller ones to ensure even freeze-drying. Lollipops, candy bars, or any type of hard candy can be freeze-dried effectively.
- Gummies and Marshmallows: These can be placed directly onto the trays without any need for cutting.
- Chocolate: Be cautious with chocolate, as it can melt easily. If you’re freeze-drying chocolate candy, it’s a good idea to freeze the chocolate slightly before placing it into the freeze dryer.
Step 3: Load the Candy into the Freeze Dryer
Once your candy is prepared, place it onto the freeze-dryer trays in a single layer. Make sure there’s space between the pieces so the air can circulate properly. Overcrowding the trays can lead to uneven freeze-drying.
Step 4: Set Up Your Freeze Dryer
Most freeze dryers have a preset option for candy, but if yours doesn’t, aim to freeze the candy at a temperature of around -40°F to -50°F. You’ll then activate the sublimation process, which can take between 24 to 48 hours, depending on the type of candy you’re freeze-drying.
Step 5: Wait for the Process to Complete
The freeze-drying process takes time, so be patient. During this period, the machine will freeze the candy and then gradually remove the moisture. You may hear the machine working, but don’t worry that’s normal!
Step 6: Test the Candy
Once the freeze-drying cycle is complete, remove the trays and check your candy. It should feel crunchy and lightweight, and it should have no remaining moisture. You can test it by gently pressing the candy; if it feels soft or sticky, it may need more time in the freeze dryer.
Step 7: Store the Freeze-Dried Candy
To maximize the shelf life of your freeze-dried candy, store it in airtight containers or vacuum-sealed bags. You may also want to use oxygen absorbers to keep the candy fresh for a longer time. Store the candy in a cool, dry place, away from sunlight.
Types of Candy That Are Ideal for Freeze-Drying
Not all candy is suitable for freeze-drying. However, some types work better than others due to their texture and moisture content. Here are some of the best candidates for freeze-drying:
Hard Candies
- Lollipops
- Candy Bars
- Jolly Ranchers
These types of candies are perfect for freeze-drying as they have little moisture and maintain their shape well through the process.

Chocolate and Chocolate-Covered Treats
- Chocolate Bars
- Chocolate-Covered Nuts
- Caramel-Filled Candies
Chocolate can be trickier to freeze-dry because it can melt. However, with proper freezing before the process, you can achieve a crispy, crunchy texture that’s irresistible.
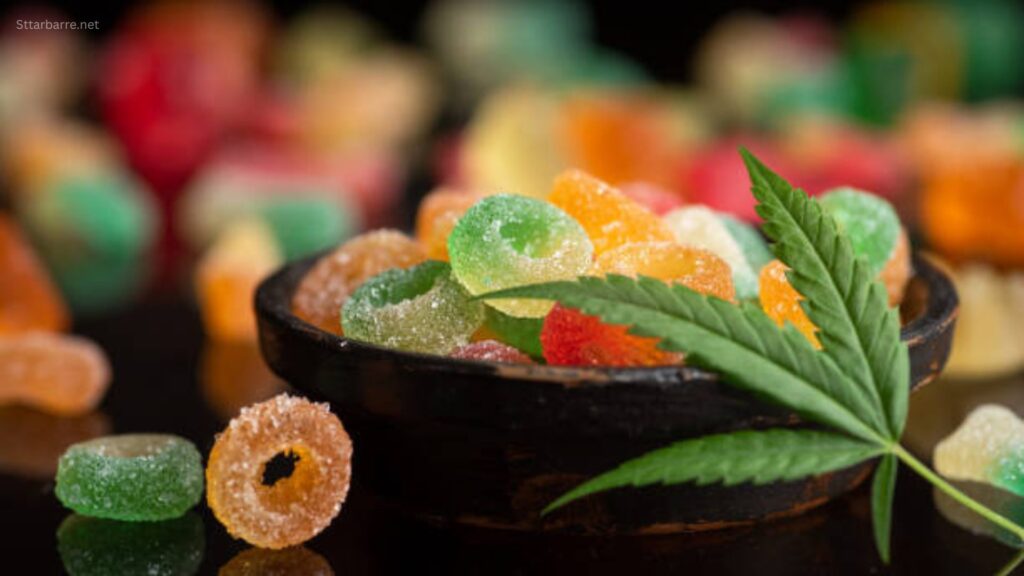
Gummy Candies
- Gummy Bears
- Gummy Worms
- Fruit Gummies
Gummy candies are popular choices for freeze-drying because of their chewy texture. After freeze-drying, they become crunchy and take on a more concentrated flavor.
Marshmallows
Freeze-dried marshmallows are light and airy and often used in cereals, hot chocolate, or as a fun snack on their own.
How Does Freeze-Drying Affect the Candy’s Flavor and Texture?
Freeze-drying candy doesn’t just remove moisture—it also changes the texture and enhances the flavor. Here’s how:
Flavor
When you remove the water content, the natural sweetness of the candy becomes more pronounced. Freeze-dried candy often tastes sweeter and more concentrated. For example, freeze-dried gummy bears can have a burst of flavor that’s more intense than their regular counterparts.
Texture
Freeze-dried candy has a crispy, airy texture that makes it unique. Marshmallows become crunchy, while chocolate bars turn into a crispy snack that breaks apart easily. The texture change adds an exciting twist to your regular candy-eating experience.
Frequently Asked Questions
- How long does it take to freeze-dry candy? The process typically takes 24 to 48 hours, depending on the type of candy and the freeze dryer.
- Can I freeze-dry chocolate? Yes, you can freeze-dry chocolate, but it requires extra care to avoid melting. Freezing the chocolate before the process can help.
- How should I store freeze-dried candy? Store freeze-dried candy in airtight containers or vacuum-sealed bags in a cool, dry place.
- What types of candy work best for freeze-drying? Hard candies, gummies, marshmallows, and chocolate-covered treats work best for freeze-drying.
- Can I eat freeze-dried candy immediately after drying? Yes, freeze-dried candy is ready to eat right after the process is complete, but make sure it’s completely dry before consuming.
Conclusion
Freeze-drying candy is a fun and creative way to preserve your favorite sweets while intensifying their flavors and changing their textures. The process of freeze-drying candy at home is fairly simple with the right equipment, and it provides a long-lasting, shelf-stable treat that’s perfect for any occasion. Whether you want to make a fun snack for camping, create unique gift ideas, or simply enjoy candy in a new form, freeze-drying is a great method to try out.
With this guide, you now have all the information you need to get started with freeze-drying candy. So, grab your favorite sweets, get a freeze-dryer, and start experimenting with this amazing preservation technique!
For More Info! Stay Tuned With StarBarre.